Please remember that WiKirby contains spoilers, which you read at your own risk! See our general disclaimer for details.
Peppermint Palace - Goal 2: Difference between revisions
From WiKirby, your independent source of Kirby knowledge.
Jump to navigationJump to search
m (Text replacement - "\|theme title=\[\[(.*)\]\]" to "|theme title="$1"") |
Luigifan18 (talk | contribs) m (Grammar check) |
||
| Line 1: | Line 1: | ||
{{Infobox-K&TAMRoom | {{Infobox-K&TAMRoom | ||
|image= [[File:KaTAM Peppermint Palace Goal 2.png]] | |image= [[File:KaTAM Peppermint Palace Goal 2.png]] | ||
|caption=[[Kirby]] contests with [[Phan Phan]] in | |caption=[[Kirby]] contests with [[Phan Phan]] in '''Goal 2'''. | ||
|area=[[Peppermint Palace]] | |area=[[Peppermint Palace]] | ||
|from=[[Peppermint Palace - Room 21|Room 21]] | |from=[[Peppermint Palace - Room 21|Room 21]] | ||
Latest revision as of 16:23, 6 May 2024
| ||||||||||||||||
| ||||||||||||||||
|
| ||||||||||||||||

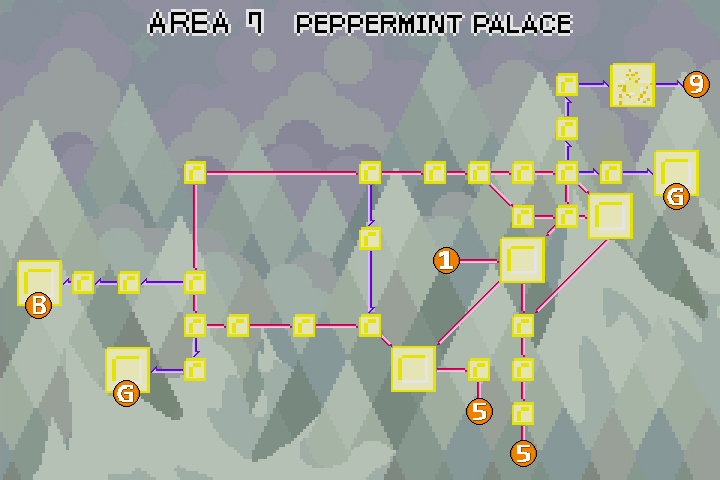
Peppermint Palace - Goal 2 is a room in Peppermint Palace, the seventh area of Kirby & The Amazing Mirror.
Links[edit]
This room is one-way, leading to the Goal Game, then to the Rainbow Route - Central Circle.
Overview[edit]
This room is a deep icy tunnel lined with enemies and pitfalls. To the left, Kirby must then contend with the Mid-Boss Phan Phan in a wider chamber. Defeating it grants the Throw ability. From there, a Treasure Chest can be accessed which contains a Maxim Tomato. After that, Kirby can use his new ability to swiftly deal with the enemies and barricades between him and the Goal Game door.
Enemies and Mid-Boss[edit]
Gallery[edit]

Composite map of the room
| Peppermint Palace Area Map | |
|---|---|
 | |
| |||||||||||||||||||||||||||||