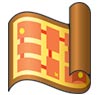
Map (item)
| ||||||||||||
|
| ||||||||||||

- This article is about the collectable items in Kirby & The Amazing Mirror. For maps in a general context, see Map.
| “ | Check these maps by pressing SELECT on the Pause screen. Once you've found an area map, you can view the layout of that whole area. | ” | — Kirby & The Amazing Mirror manual |
Maps are items which can be collected from large Treasure Chests in Kirby & The Amazing Mirror. These allow the player to view a map of the areas the items are found in, showing rooms which have not yet been explored along with the connections to them. While not required to complete the game, collecting every map is required for 100% completion.
Locations[edit]
The following table shows each map in Kirby & The Amazing Mirror along with the rooms they are found in:
| Maps in Kirby & The Amazing Mirror | ||
|---|---|---|
| Map | Location | Notes |
World Map |
Labyrinth Entrance Stage | This map shows the connections of the Big Switches. It is the only map that must be collected to proceed. |
| Rainbow Route - Hub 1 | This is the only map that is found in a hub room. | |
| Moonlight Mansion - Entry | ||
| Cabbage Cavern - Goal | This is the only map that is found in a goal room. | |
| Mustard Mountain - Chest | ||
| Carrot Castle - Chest 2 | ||
| Olive Ocean - Chest 2 | ||
| Peppermint Palace - Chest | ||
| Radish Ruins - Chest 2 | ||
| Candy Constellation - Chest 3 | ||
Gallery[edit]
Artwork from Kirby & The Amazing Mirror
Background image for the world map

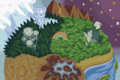
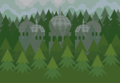
Background image for Rainbow Route
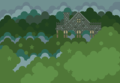
Background image for Moonlight Mansion

Background image for Cabbage Cavern
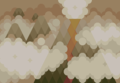
Background image for Mustard Mountain
Background image for Carrot Castle
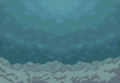
Background image for Olive Ocean

Background image for Peppermint Palace
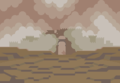
Background image for Radish Ruins

Background image for Candy Constellation


| |||||||||||||||||||||||||||||