Please remember that WiKirby contains spoilers, which you read at your own risk! See our general disclaimer for details.
Candy Constellation - Goal 2: Difference between revisions
From WiKirby, your independent source of Kirby knowledge.
Jump to navigationJump to search
mNo edit summary |
|||
| Line 41: | Line 41: | ||
!Copy Ability | !Copy Ability | ||
|- | |- | ||
|align=center|[[File: | |align=center|[[File:KNiDL Bonkers sprite.png]] | ||
|[[Bonkers]] | |[[Bonkers]] | ||
|[[Hammer]] | |[[Hammer]] | ||
Revision as of 22:36, 13 October 2021
| ||||||||||||||||
|
| ||||||||||||||||
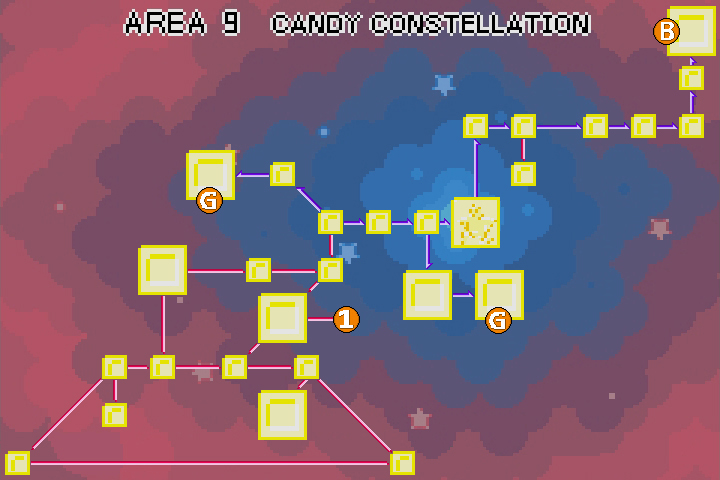
Candy Constellation - Goal 2 is a room in Candy Constellation, the ninth area of Kirby & The Amazing Mirror.
Links
This room is one-way, leading to the Goal Game, then to the Rainbow Route - Central Circle.
Overview
Much like the first Goal room, this room starts with a selection of ability-providing enemies trapped in the wall, then an encounter with a Mid-Boss; in this case Bonkers. Once he is defeated, Kirby can access the Goal Game door to the right.
Enemies and Mid-Boss
|
Gallery
- KTAM 9-G2 Map.png
Composite map of the room
| Candy Constellation Area Map | |
|---|---|
 | |
| |||||||||||||||||||||||||||||