Please remember that WiKirby contains spoilers, which you read at your own risk! See our general disclaimer for details.
Cabbage Cavern - Room 3: Difference between revisions
From WiKirby, your independent source of Kirby knowledge.
Jump to navigationJump to search
mNo edit summary |
m (→Enemies) |
||
| Line 22: | Line 22: | ||
!Copy Ability | !Copy Ability | ||
|- | |- | ||
|align=center|[[File: | |align=center|[[File:KNiDL Blipper sprite.png]] | ||
|[[Blipper]] | |[[Blipper]] | ||
|None | |None | ||
|- | |- | ||
|align=center|[[File: | |align=center|[[File:KNiDL Glunk sprite.png]] | ||
|[[Glunk]] | |[[Glunk]] | ||
|None | |None | ||
Revision as of 22:05, 13 November 2021
| ||||||||||||||
|
| ||||||||||||||
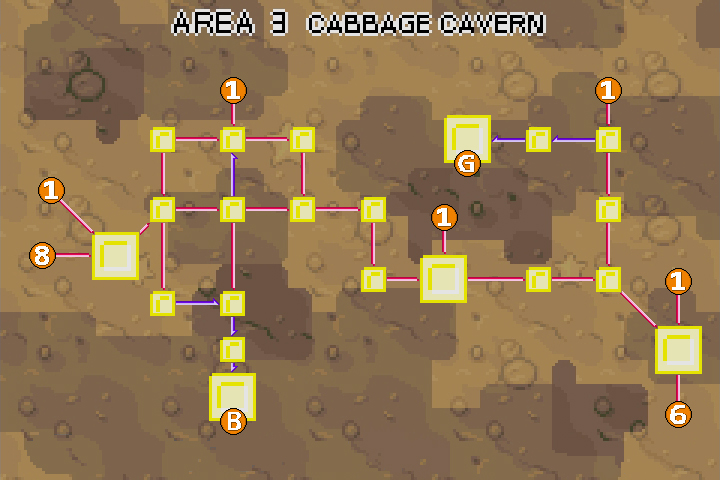
Cabbage Cavern - Room 3 is a room in Cabbage Cavern, the third area of Kirby & The Amazing Mirror.
Links
This room links to Cabbage Cavern - Room 4 upward and Cabbage Cavern - Room 1 down.
Overview
This room consists primarily of a flooded series of tunnels. In the water are a handful of sea creatures, and some Bomb Block barriers to break. The room is split by Metal Blocks into two separate channels, with a bottomless pit at the bottom also connecting them. To the right from here is a small air pocket chamber with an Energy Drink inside. Taking the passage upward on the left will lead Kirby back up to Room 4, then to Room 5. Taking the door at the bottom leads to Room 1.
Enemies
| Sprite | Name | Copy Ability |
|---|---|---|
| Blipper | None | |
| Glunk | None |
Gallery
- KTAM 3-3 Map.png
Composite map of the room
| Cabbage Cavern Area Map | |
|---|---|
 | |
| |||||||||||||||||||||||||||||