Please remember that WiKirby contains spoilers, which you read at your own risk! See our general disclaimer for details.
Radish Ruins - Room 1: Difference between revisions
From WiKirby, your independent source of Kirby knowledge.
Jump to navigationJump to search
m (→Gallery) |
mNo edit summary |
||
| Line 1: | Line 1: | ||
{{Good}} | {{Good}} | ||
{{Infobox-K&TAMRoom | {{Infobox-K&TAMRoom | ||
|image= [[File:Radish Ruins Room 1.png]] | |image= [[File:KaTAM Radish Ruins Room 1.png]] | ||
|caption=[[Kirby]] activates the [[Bomb Block]] in '''Room 1'''. | |caption=[[Kirby]] activates the [[Bomb Block]] in '''Room 1'''. | ||
|area=[[Radish Ruins]] | |area=[[Radish Ruins]] | ||
Revision as of 11:28, 24 December 2021
| ||||||||||||||
|
| ||||||||||||||

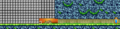
Radish Ruins - Room 1 is a room in Radish Ruins, the eighth area of Kirby & The Amazing Mirror.
Links
This room links to Cabbage Cavern - Hub 3 below, and Radish Ruins - Room 2 to the left.
Overview
This room is an underground tunnel , reminiscent of the adjacent area in Cabbage Cavern. In the middle, a large room can be accessed, mostly blocked off by a Bomb Block barrier. Breaking it reveals the proper entrance to the ruins area, in the form of a decorative door that looks like a face. Entering the 'mouth' leads to Room 2.
There are no enemies or items to collect in this room.
Gallery
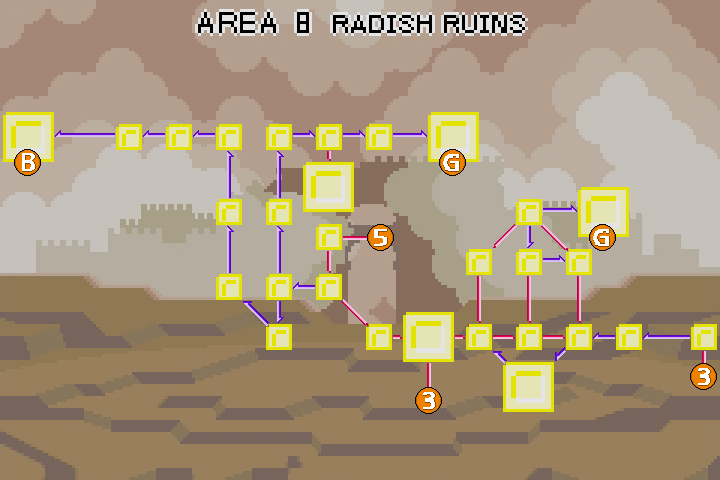
Composite map of the room
| Radish Ruins Area Map | |
|---|---|
 | |
| |||||||||||||||||||||||||||||