Kirby's Dream Course/gallery: Difference between revisions
| Line 128: | Line 128: | ||
==Screenshots== | ==Screenshots== | ||
{{construction|Will | {{construction|Will finish up adding the 2 player stages. {{User:DeepFriedCabbage/sig}} 23:06, 15 February 2023 (UTC)}} | ||
===General=== | ===General=== | ||
<gallery> | <gallery> | ||
| Line 248: | Line 248: | ||
KDC Course 5 Hole 8 screenshot 01.png|Blasting through the Whispys ([[Course 5 - Hole 8|Hole 8]]) | KDC Course 5 Hole 8 screenshot 01.png|Blasting through the Whispys ([[Course 5 - Hole 8|Hole 8]]) | ||
KDC Course 5 Hole 8 screenshot 02.png|Riding the Air Curtain to the last cup (Hole 8) | KDC Course 5 Hole 8 screenshot 02.png|Riding the Air Curtain to the last cup (Hole 8) | ||
</gallery> | |||
===[[Course 6]]=== | |||
<gallery> | |||
KDC Course 6 select.png|Course 6 on the map screen | |||
KDC Course 6 intro.png|A still from the opening cutscene for Course 6 | |||
KDC Course 6 Hole 1 screenshot 01.png|Blasting through all the enemies ([[Course 6 - Hole 1|Hole 1]]) | |||
KDC Course 6 Hole 1 screenshot 02.png|Just barely missing the cup at the end (Hole 1) | |||
KDC Course 6 Hole 2 screenshot 01.png|Blasting through the lower portion of the course ([[Course 6 - Hole 2|Hole 2]]) | |||
KDC Course 6 Hole 2 screenshot 02.png|Using the panels to ride the higher walkway (Hole 2) | |||
KDC Course 6 Hole 3 screenshot 01.png|Hopping over the first spike pit ([[Course 6 - Hole 3|Hole 3]]) | |||
KDC Course 6 Hole 3 screenshot 02.png|Pondering the best move across the wide ramp (Hole 3) | |||
KDC Course 6 Hole 4 screenshot 01.png|Planning the perfect shot ([[Course 6 - Hole 4|Hole 4]]) | |||
KDC Course 6 Hole 4 screenshot 02.png|Executing the perfect shot (Hole 4) | |||
KDC Course 6 Hole 5 screenshot 01.png|Smacking the [[Starman]] with Tornado at the bottom of the board ([[Course 6 - Hole 5|Hole 5]]) | |||
KDC Course 6 Hole 5 screenshot 02.png|Leaping over Whispy Woods using Hi-Jump (Hole 5) | |||
KDC Course 6 Hole 6 screenshot 01.png|Moving across the panels in the middle ([[Course 6 - Hole 6|Hole 6]]) | |||
KDC Course 6 Hole 6 screenshot 02.png|Making the loop at the top (Hole 6) | |||
KDC Course 6 Hole 7 screenshot 01.png|Making the bounce ([[Course 6 - Hole 7|Hole 7]]) | |||
KDC Course 6 Hole 7 screenshot 02.png|Scrolling to the Waddle Dee who will shortly be the cup (Hole 7) | |||
KDC Course 6 Hole 8 screenshot 01.png|Planning the first shot ([[Course 6 - Hole 8|Hole 8]]) | |||
KDC Course 6 Hole 8 screenshot 02.png|Rocketing off the hill using [[Burning|Fireball]] (Hole 8) | |||
</gallery> | |||
===[[Course 7]]=== | |||
<gallery> | |||
KDC Course 7 select.png|Course 7 on the map screen | |||
KDC Course 7 intro.png|A still from the opening cutscene for Course 7 | |||
KDC Course 7 Hole 1 screenshot 01.png|Lining up a shot that will capture the [[UFO (enemy)|UFO]] ([[Course 7 - Hole 1|Hole 1]]) | |||
KDC Course 7 Hole 1 screenshot 02.png|Using the [[UFO]] ability to cross a chasm (Hole 1) | |||
KDC Course 7 Hole 2 screenshot 01.png|Dashing along the upper walkway ([[Course 7 - Hole 2|Hole 2]]) | |||
KDC Course 7 Hole 2 screenshot 02.png|Spinning through the lower bowl (Hole 2) | |||
KDC Course 7 Hole 3 screenshot 01.png|Taking note of the surrounding hazards ([[Course 7 - Hole 3|Hole 3]]) | |||
KDC Course 7 Hole 3 screenshot 02.png|Warping from ear to ear (Hole 3) | |||
KDC Course 7 Hole 4 screenshot 01.png|Riding up the right conveyor belt ([[Course 7 - Hole 4|Hole 4]]) | |||
KDC Course 7 Hole 4 screenshot 02.png|Riding down the left conveyor belt (Hole 4) | |||
KDC Course 7 Hole 5 screenshot 01.png|Leaping over left Kracko ([[Course 7 - Hole 5|Hole 5]]) | |||
KDC Course 7 Hole 5 screenshot 02.png|Leaping over right Kracko (Hole 5) | |||
KDC Course 7 Hole 6 screenshot 01.png|Riding the lower belt ([[Course 7 - Hole 6|Hole 6]]) | |||
KDC Course 7 Hole 6 screenshot 02.png|Riding the upper belt (Hole 6) | |||
KDC Course 7 Hole 7 screenshot 01.png|Launching off the ramp with Spark activated ([[Course 7 - Hole 7|Hole 7]]) | |||
KDC Course 7 Hole 7 screenshot 02.png|Making the last shot against the [[Mr. P. Umpkin]]s (Hole 7) | |||
KDC Course 7 Hole 8 screenshot 01.png|Approaching the left platform with UFO ([[Course 7 - Hole 8|Hole 8]]) | |||
KDC Course 7 Hole 8 screenshot 02.png|Leaving the left platform with UFO (better move quick!) (Hole 8) | |||
</gallery> | |||
===[[Course 8]]=== | |||
<gallery> | |||
KDC Course 8 select.png|Course 8 on the map screen | |||
KDC Course 8 intro.png|A still from the opening cutscene for Course 8 | |||
KDC Course 8 Hole 1 screenshot 01.png|Rolling down the massive slope ([[Course 8 - Hole 1|Hole 1]]) | |||
KDC Course 8 Hole 1 screenshot 02.png|Reaching the Squishy area (Hole 1) | |||
KDC Course 8 Hole 2 screenshot 01.png|Rolling toward the Dash Panel ([[Course 8 - Hole 2|Hole 2]]) | |||
KDC Course 8 Hole 2 screenshot 02.png|Making use of the trampoline across the pond (Hole 2) | |||
KDC Course 8 Hole 3 screenshot 01.png|Using the bouncy slopes ([[Course 8 - Hole 3|Hole 3]]) | |||
KDC Course 8 Hole 3 screenshot 02.png|Rolling toward the lower lawn (Hole 3) | |||
KDC Course 8 Hole 4 screenshot 01.png|Admiring the Air Curtain rows ([[Course 8 - Hole 4|Hole 4]]) | |||
KDC Course 8 Hole 4 screenshot 02.png|Leaping to the top of the cliff (Hole 4) | |||
KDC Course 8 Hole 5 screenshot 01.png|Breaking out of the bumper fencing ([[Course 8 - Hole 5|Hole 5]]) | |||
KDC Course 8 Hole 5 screenshot 02.png|Using Tornado to rip through the enemies down the slope (Hole 5) | |||
KDC Course 8 Hole 6 screenshot 01.png|Kirby lines his sights on the UFO. ([[Course 8 - Hole 6|Hole 6]]) | |||
KDC Course 8 Hole 6 screenshot 02.png|Using UFO to scale this board (Hole 6) | |||
KDC Course 8 Hole 7 screenshot 01.png|Eyeballing the Dash Panel ([[Course 8 - Hole 7|Hole 7]]) | |||
KDC Course 8 Hole 7 screenshot 02.png|Using the various abilities to dispatch the enemies (Hole 7) | |||
KDC Course 8 Hole 8 screenshot 01.png|Defeating Whispy using Spark ([[Course 8 - Hole 8|Hole 8]]) | |||
KDC Course 8 Hole 8 screenshot 02.png|Catching [[Wheelie]] using Stone (Hole 8) | |||
KDC Course 8 Hole 8 screenshot 03.png|Crossing a pond using Wheel (Hole 8) | |||
KDC Course 8 Hole 8 screenshot 04.png|Using UFO to clear out the [[Gaspar]]s (Hole 8) | |||
KDC Course 8 Hole 8 screenshot 05.png|Leaping over the last Whispy (Hole 8) | |||
</gallery> | |||
===[[Robo Dedede|Dedede]]=== | |||
<gallery> | |||
KDC Course Dedede select.png|Course Dedede on the map screen | |||
KDC Robo Dedede.png|[[Robo Dedede]] appears | |||
KDC Robo Dedede fight.png|Battle against Robo Dedede | |||
KDC Robo Dededefeated.png|Robo Dedede is defeated and vanishes, leaving [[King Dedede|its pilot]] exposed. | |||
KDC Castle Dededestruction.png|Castle Dedede is destroyed, freeing all the stars that were stolen. | |||
</gallery> | </gallery> | ||
Revision as of 23:06, 15 February 2023
A gallery of images relating to Kirby's Dream Course.
Boxart and logos
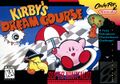
North American boxart

Japanese boxart
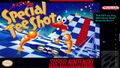
Early boxart for Special Tee Shot, the game that eventually became Kirby's Dream Course

English logo

Japanese logo


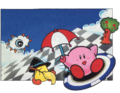
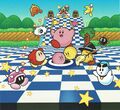
Artwork

Kirby holding two flags
- KDCArtStory.png
King Dedede stealing the stars, as depicted in the instruction booklet
American/European group artwork
Japanese group artwork


Sprites
Kirby and Keeby

Keeby, as he appears in his icon display

Keeby in the 2P Game menu


Copy Abilities


Icon displays


Enemies


Obstacles

Cup

Day and Night Switch (Day)

Day and Night Switch (Night)

Pond Drain Switch

Pond Fill Switch

Turntable Switch (On)

Turntable Switch (Off)

Warp Panel (purple)

Warp Panel (red)
2P Game course icons
Backgrounds


Other
Screenshots
General
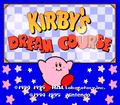
Title screen
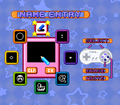
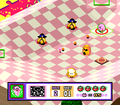
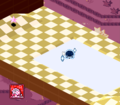
New member name entry screen
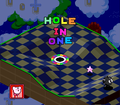
Scoring a hole-in-one on a course
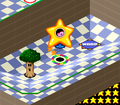
Completing a course

The starry transition effect seen after completing a course

The end of the credits sequence
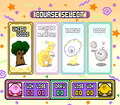
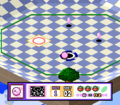
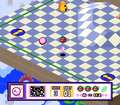
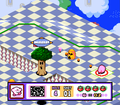
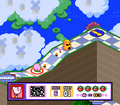
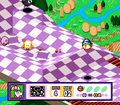
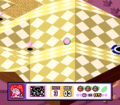
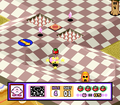
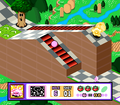
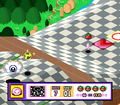
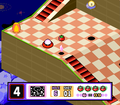
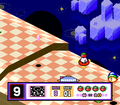
The course menu for 2P Game
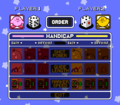
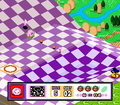
The handicap menu for 2P Game
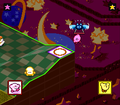
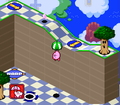
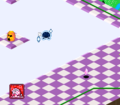
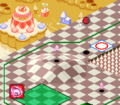
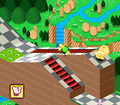
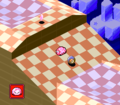
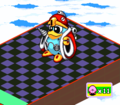
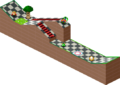
Flapper returning Kirby to the board
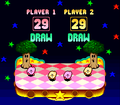
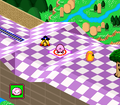
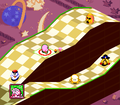
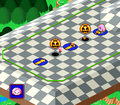
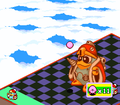
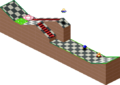
A draw in 2P Game


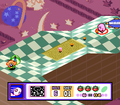
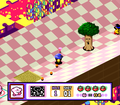
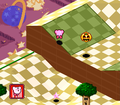
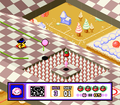
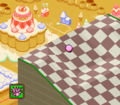
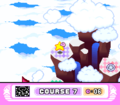
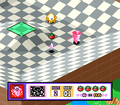
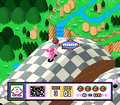
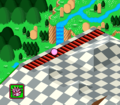
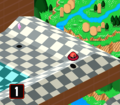
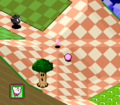
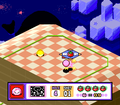
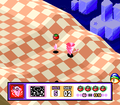
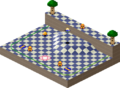
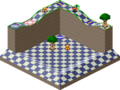
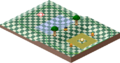
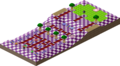
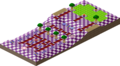
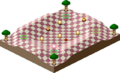
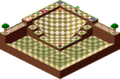
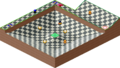
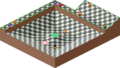
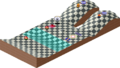
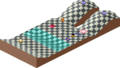
Course 1
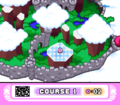
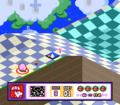
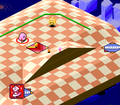
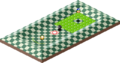
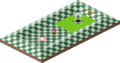
Course 1 on the map screen
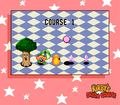
A still from the opening cutscene for Course 1
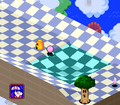
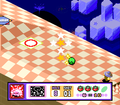
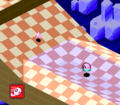
Just barely missing the hole-in-one (Hole 1)
Making the first move toward the Kick Panel (Hole 2)
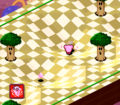
Rolling around the Kabus in the back (Hole 2)
Following the Kick Panels to take out the Kabu (Hole 3)
Lining up the shot into the cup (Hole 3)
Heading toward the Warp Panel (Hole 4)
Emerging on the other side, not too quickly now (Hole 4)
Surveying the course to prepare the first shot (Hole 5)
Lining up the first shot across the upper walkway (Hole 6)
Using Parasol to drift down toward the cup (Hole 6)
Preparing a flying shot into the upper region (Hole 7)
Skipping across the pond to the other side (Hole 7)
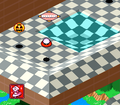
Lining up the first shot toward the pond drain switch (Hole 8)
Using Parasol to just barely make it to the lower region (Hole 8)


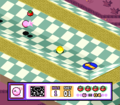
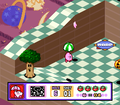
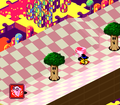
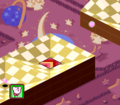
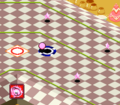
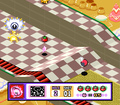
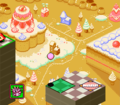
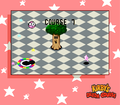
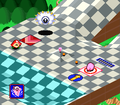
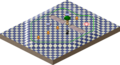
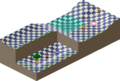
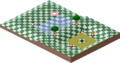
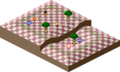
Course 2
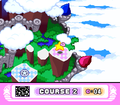
Course 2 on the map screen
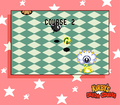
A still from the opening cutscene for Course 2
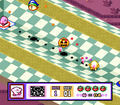
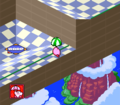
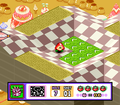
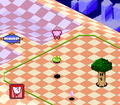
Preparing a shot which will hit all of the flying foes (Hole 1)
Moving toward the last enemy, transforming into the cup (Hole 1)

Defeating Whispy Woods using Spark (Hole 2)
Lining up a shot to deal with the remaining foes (Hole 2)

Surveying the area (Hole 3)
Getting a little too dizzy during the shot (Hole 3)
Kirby Wheels through the remaining foes. (Hole 4)
Using Wheel to "walk on water" (Hole 5)
Using Wheel to power through the bunkers (Hole 5)
Preparing the first line-up past a bunker (Hole 6)
Using Parasol to drift into the lowland (Hole 6)
Preparing for a bounce after the first shot (Hole 7)
Getting deflected by the lawn (Hole 7)
Lining up the path up the slope (Hole 8)
Riding the Air Curtain to reach the left side (Hole 8)


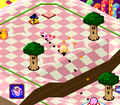
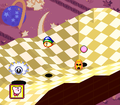
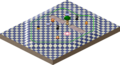
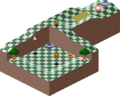
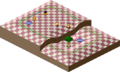
Course 3
Course 3 on the map screen
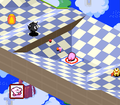
A still from the opening cutscene for Course 3
Preparing to leap up to the cliffs region (Hole 1)
Preparing a shot onto the highest cliff (Hole 1)
Preparing the first shot carefully (Hole 2)
Navigating the maze of conveyor belts (Hole 2)
Surveying the surrounding board (Hole 3)
Planning a leap over Whispy Woods (Hole 3)
Surveying Kracko's hill (Hole 4)
Planning a shot from the left side (Hole 4)
Planning a water crossing (Hole 5)
A choice of paths to take at the beginning (Hole 6)

Riding the Air Curtain to certain victory (Hole 6)
A round of ice skating in a game of golf (Hole 7)
Planning a shot from the bottom of a pond (Hole 7)
Kirby takes in his surroundings on the board (Hole 8)
Kirby causes the pond to reappear behind him (Hole 8)


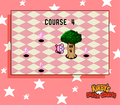
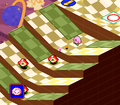
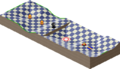
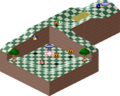
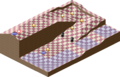
Course 4

Course 4 on the map screen
A still from the opening cutscene for Course 4
Lining up a curving shot (Hole 1)
Using Tornado to move swiftly by the Whispy Woods (Hole 1)
Taking note of the surrounding enemies (Hole 2)
Preparing a shot over the cliff face (Hole 3)
Slipping by the Gordos (Hole 4)
This shot must be planned carefully. (Hole 5)
Using the Dash Panel to launch over the Danger Zones (Hole 6)

Reaching the Kabu on the other side (Hole 6)
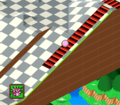
Preparing to ride down the slope (Hole 7)
Using Needle to stop from falling off the edge (Hole 7)
Skipping past the spiky hazard zone (Hole 8)
Freezing the pond to cross it (Hole 8)


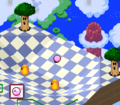
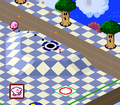
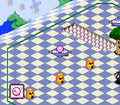
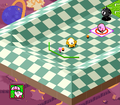
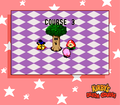
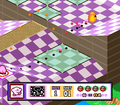
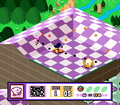
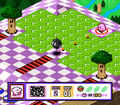
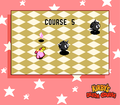
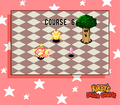
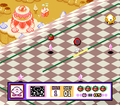
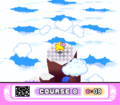
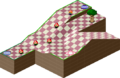
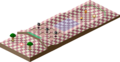
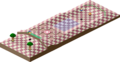
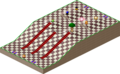
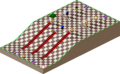
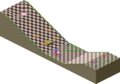
Course 5
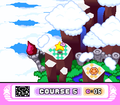
Course 5 on the map screen
A still from the opening cutscene for Course 5
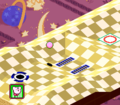
Using a Dash Panel to boost across the upper walkway (Hole 1)
Using Needle to stop from bouncing into the ponds (Hole 1)
This shot requires some precision. (Hole 2)
Freezing another pond (Hole 2)

Moving across the bunker-laden path (Hole 3)
Making the last shot over some tricky terrain (Hole 3)
Surveying the nearby enemies (Hole 4)

Crossing the pond with Freeze (Hole 4)
Twisting on by the Whispys (Hole 5)
Leaping onto the high cliff (Hole 5)
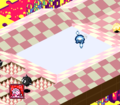
Leaping over the chasm (Hole 6)
Reaching the far side of the right platform (Hole 6)
Kirby works his way down the Waddle Dee steps. (Hole 7)

Leaping toward the last Waddle Dee (Hole 7)
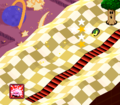
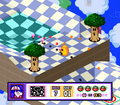
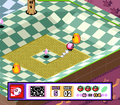
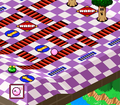
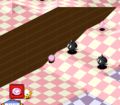
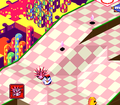
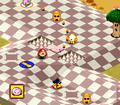
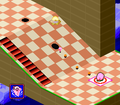
Blasting through the Whispys (Hole 8)
Riding the Air Curtain to the last cup (Hole 8)


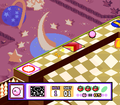
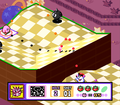
Course 6
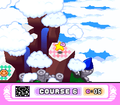
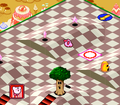
Course 6 on the map screen
A still from the opening cutscene for Course 6
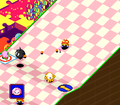
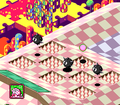
Blasting through all the enemies (Hole 1)
Just barely missing the cup at the end (Hole 1)
Blasting through the lower portion of the course (Hole 2)

Using the panels to ride the higher walkway (Hole 2)
Hopping over the first spike pit (Hole 3)

Pondering the best move across the wide ramp (Hole 3)
Planning the perfect shot (Hole 4)
Executing the perfect shot (Hole 4)
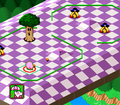
Leaping over Whispy Woods using Hi-Jump (Hole 5)
Moving across the panels in the middle (Hole 6)
Making the loop at the top (Hole 6)
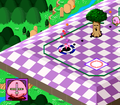
Making the bounce (Hole 7)
Scrolling to the Waddle Dee who will shortly be the cup (Hole 7)

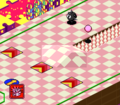
Planning the first shot (Hole 8)
Rocketing off the hill using Fireball (Hole 8)


Course 7
Course 7 on the map screen
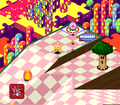
A still from the opening cutscene for Course 7
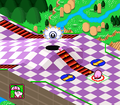
Using the UFO ability to cross a chasm (Hole 1)
Dashing along the upper walkway (Hole 2)
Spinning through the lower bowl (Hole 2)
Taking note of the surrounding hazards (Hole 3)
Warping from ear to ear (Hole 3)
Riding up the right conveyor belt (Hole 4)
Riding down the left conveyor belt (Hole 4)
Leaping over left Kracko (Hole 5)
Leaping over right Kracko (Hole 5)
Riding the lower belt (Hole 6)
Riding the upper belt (Hole 6)
Launching off the ramp with Spark activated (Hole 7)
Making the last shot against the Mr. P. Umpkins (Hole 7)
Approaching the left platform with UFO (Hole 8)
Leaving the left platform with UFO (better move quick!) (Hole 8)


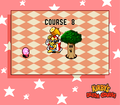
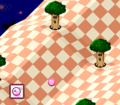
Course 8
Course 8 on the map screen
A still from the opening cutscene for Course 8
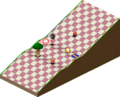
Rolling down the massive slope (Hole 1)
Reaching the Squishy area (Hole 1)
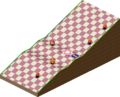
Rolling toward the Dash Panel (Hole 2)
Making use of the trampoline across the pond (Hole 2)
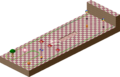
Using the bouncy slopes (Hole 3)
Rolling toward the lower lawn (Hole 3)
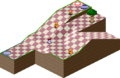
Admiring the Air Curtain rows (Hole 4)
Leaping to the top of the cliff (Hole 4)

Breaking out of the bumper fencing (Hole 5)
Using Tornado to rip through the enemies down the slope (Hole 5)
Kirby lines his sights on the UFO. (Hole 6)
Using UFO to scale this board (Hole 6)
Eyeballing the Dash Panel (Hole 7)
Using the various abilities to dispatch the enemies (Hole 7)
Defeating Whispy using Spark (Hole 8)
Catching Wheelie using Stone (Hole 8)
Crossing a pond using Wheel (Hole 8)
Using UFO to clear out the Gaspars (Hole 8)

Leaping over the last Whispy (Hole 8)


Dedede

Course Dedede on the map screen
Robo Dedede appears
Battle against Robo Dedede
Robo Dedede is defeated and vanishes, leaving its pilot exposed.

Castle Dedede is destroyed, freeing all the stars that were stolen.


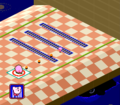
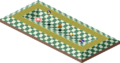
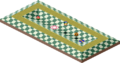
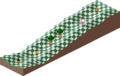
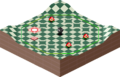
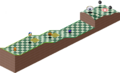
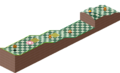
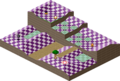
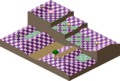
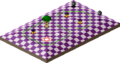
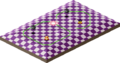
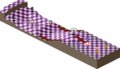
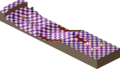
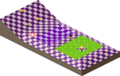
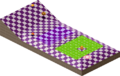
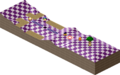
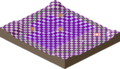
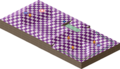
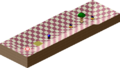
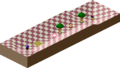
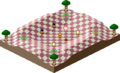
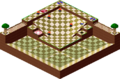
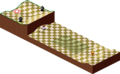
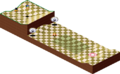
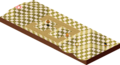
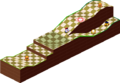
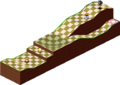
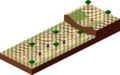
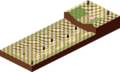
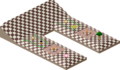
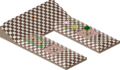
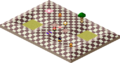
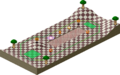
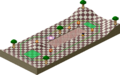
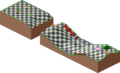
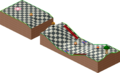
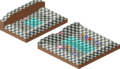
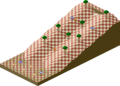
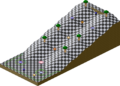
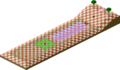
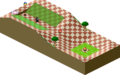
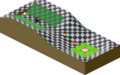
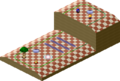
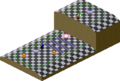
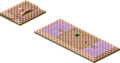
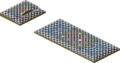
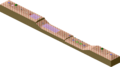
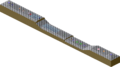
Course maps
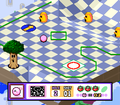
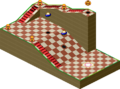
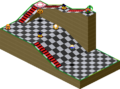
Course 1
Hole 1 (Main Game)
Hole 1 (Extra Game)
Hole 2 (Main Game)
Hole 2 (Extra Game)
Hole 3 (Main Game)
Hole 3 (Extra Game)
Hole 4 (Main Game)
Hole 4 (Extra Game)
Hole 5 (Main Game)

Hole 5 (Extra Game)
Hole 6 (Main Game)

Hole 6 (Extra Game)

Hole 7 (Main Game)

Hole 7 (Extra Game)

Hole 8 (Main Game)
Hole 8 (Extra Game)


Course 2
Hole 1 (Main Game)
Hole 1 (Extra Game)

Hole 2 (Main Game)
Hole 2 (Extra Game)
Hole 3 (Main Game)

Hole 3 (Extra Game)
Hole 4 (Main Game)
Hole 4 (Extra Game)
Hole 5 (Main Game)
Hole 5 (Extra Game)
Hole 6 (Main Game)
Hole 6 (Extra Game)
Hole 7 (Main Game)
Hole 7 (Extra Game)
Hole 8 (Main Game)
Hole 8 (Extra Game)


Course 3
Hole 1 (Main Game)
Hole 1 (Extra Game)
Hole 2 (Main Game)
Hole 2 (Extra Game)
Hole 3 (Main Game)
Hole 3 (Extra Game)
Hole 4 (Main Game)
Hole 4 (Extra Game)
Hole 5 (Main Game)
Hole 5 (Extra Game)
Hole 6 (Main Game)

Hole 6 (Extra Game)
Hole 7 (Main Game)

Hole 7 (Extra Game)
Hole 8 (Main Game)

Hole 8 (Extra Game)


Course 4
Hole 1 (Main Game)
Hole 1 (Extra Game)
Hole 2 (Main Game)
Hole 2 (Extra Game)
Hole 3 (Main Game)
Hole 3 (Extra Game)
Hole 4 (Main Game)

Hole 4 (Extra Game)
Hole 5 (Main Game)
Hole 5 (Extra Game)

Hole 6 (Main Game)
Hole 6 (Extra Game)
Hole 7 (Main Game)
Hole 7 (Extra Game)
Hole 8 (Main Game)
Hole 8 (Extra Game)


Course 5
Hole 1 (Main Game)
Hole 1 (Extra Game)
Hole 2 (Main Game)
Hole 2 (Extra Game)
Hole 3 (Main Game)

Hole 3 (Extra Game)
Hole 4 (Main Game)
Hole 4 (Extra Game)
Hole 5 (Main Game)
Hole 5 (Extra Game)
Hole 6 (Main Game)

Hole 6 (Extra Game)
Hole 7 (Main Game)

Hole 7 (Extra Game)
Hole 8 (Main Game)
Hole 8 (Extra Game)


Course 6
Hole 1 (Main Game)
Hole 1 (Extra Game)
Hole 2 (Main Game)
Hole 2 (Extra Game)
Hole 3 (Main Game)
Hole 3 (Extra Game)
Hole 4 (Main Game)
Hole 4 (Extra Game)
Hole 5 (Main Game)
Hole 5 (Extra Game)

Hole 6 (Main Game)
Hole 6 (Extra Game)
Hole 7 (Main Game)

Hole 7 (Extra Game)
Hole 8 (Main Game)
Hole 8 (Extra Game)


Course 7
Hole 1 (Main Game)
Hole 1 (Extra Game)
Hole 2 (Main Game)
Hole 2 (Extra Game)
Hole 3 (Main Game)
Hole 3 (Extra Game)
Hole 4 (Main Game)
Hole 4 (Extra Game)
Hole 5 (Main Game)
Hole 5 (Extra Game)
Hole 6 (Main Game)
Hole 6 (Extra Game)
Hole 7 (Main Game)
Hole 7 (Extra Game)

Hole 8 (Main Game)
Hole 8 (Extra Game)


Course 8
Hole 1 (Main Game)
Hole 1 (Extra Game)
Hole 2 (Main Game)

Hole 2 (Extra Game)
Hole 3 (Main Game)
Hole 3 (Extra Game)
Hole 4 (Main Game)
Hole 4 (Extra Game)
Hole 5 (Main Game)
Hole 5 (Extra Game)
Hole 6 (Main Game)
Hole 6 (Extra Game)
Hole 7 (Main Game)
Hole 7 (Extra Game)
Hole 8 (Main Game)
Hole 8 (Extra Game)


| |||||||||||||||||||||||