Kirby's Dream Course/gallery: Difference between revisions
(This became so easy after realizing I can just copy/paste and change one number in each filename and link) |
|||
| Line 150: | Line 150: | ||
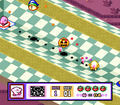
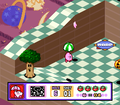
KDC Course 1 Hole 1 screenshot 01.png|Lining up the first shot to try and get all the [[Kabu]]s at once ([[Course 1 - Hole 1|Hole 1]]) | KDC Course 1 Hole 1 screenshot 01.png|Lining up the first shot to try and get all the [[Kabu]]s at once ([[Course 1 - Hole 1|Hole 1]]) | ||
KDC Course 1 Hole 1 screenshot 02.png|Just barely missing the hole-in-one (Hole 1) | KDC Course 1 Hole 1 screenshot 02.png|Just barely missing the hole-in-one (Hole 1) | ||
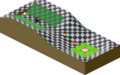
KDC Course 1 Hole 2 screenshot 01.png|Making the first move toward the [[Kick Panel]] ([[Course 1 - Hole | KDC Course 1 Hole 2 screenshot 01.png|Making the first move toward the [[Kick Panel]] ([[Course 1 - Hole 2|Hole 2]]) | ||
KDC Course 1 Hole 2 screenshot 02.png|Rolling around the Kabus in the back (Hole 2) | KDC Course 1 Hole 2 screenshot 02.png|Rolling around the Kabus in the back (Hole 2) | ||
KDC Course 1 Hole 3 screenshot 01.png|Following the Kick Panels to take out the Kabu ([[Course 1 - Hole | KDC Course 1 Hole 3 screenshot 01.png|Following the Kick Panels to take out the Kabu ([[Course 1 - Hole 3|Hole 3]]) | ||
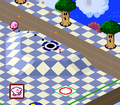
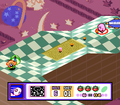
KDC Course 1 Hole 3 screenshot 02.png|Lining up the shot into the cup (Hole 3) | KDC Course 1 Hole 3 screenshot 02.png|Lining up the shot into the cup (Hole 3) | ||
KDC Course 1 Hole 4 screenshot 01.png|Heading toward the [[Warp Panel]] ([[Course 1 - Hole | KDC Course 1 Hole 4 screenshot 01.png|Heading toward the [[Warp Panel]] ([[Course 1 - Hole 4|Hole 4]]) | ||
KDC Course 1 Hole 4 screenshot 02.png|Emerging on the other side, not too quickly now (Hole 4) | KDC Course 1 Hole 4 screenshot 02.png|Emerging on the other side, not too quickly now (Hole 4) | ||
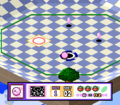
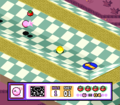
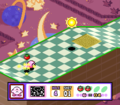
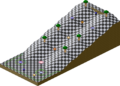
KDC Course 1 Hole 5 screenshot 01.png|Surveying the course to prepare the first shot ([[Course 1 - Hole | KDC Course 1 Hole 5 screenshot 01.png|Surveying the course to prepare the first shot ([[Course 1 - Hole 5|Hole 5]]) | ||
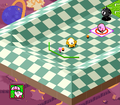
KDC Course 1 Hole 5 screenshot 02.png|Leaping over [[Gordo]] using [[Hi-Jump]] (Hole 5) | KDC Course 1 Hole 5 screenshot 02.png|Leaping over [[Gordo]] using [[Hi-Jump]] (Hole 5) | ||
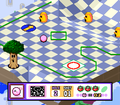
KDC Course 1 Hole 6 screenshot 01.png|Lining up the first shot across the upper walkway ([[Course 1 - Hole | KDC Course 1 Hole 6 screenshot 01.png|Lining up the first shot across the upper walkway ([[Course 1 - Hole 6|Hole 6]]) | ||
KDC Course 1 Hole 6 screenshot 02.png|Using [[Parasol]] to drift down toward the cup (Hole 6) | KDC Course 1 Hole 6 screenshot 02.png|Using [[Parasol]] to drift down toward the cup (Hole 6) | ||
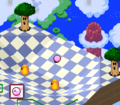
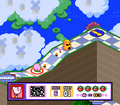
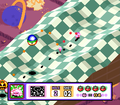
KDC Course 1 Hole 7 screenshot 01.png|Preparing a flying shot into the upper region ([[Course 1 - Hole | KDC Course 1 Hole 7 screenshot 01.png|Preparing a flying shot into the upper region ([[Course 1 - Hole 7|Hole 7]]) | ||
KDC Course 1 Hole 7 screenshot 02.png|Skipping across the pond to the other side (Hole 7) | KDC Course 1 Hole 7 screenshot 02.png|Skipping across the pond to the other side (Hole 7) | ||
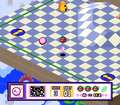
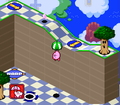
KDC Course 1 Hole 8 screenshot 01.png|Lining up the first shot toward the pond drain switch ([[Course 1 - Hole | KDC Course 1 Hole 8 screenshot 01.png|Lining up the first shot toward the pond drain switch ([[Course 1 - Hole 8|Hole 8]]) | ||
KDC Course 1 Hole 8 screenshot 02.png|Using Parasol to just barely make it to the lower region (Hole 8) | KDC Course 1 Hole 8 screenshot 02.png|Using Parasol to just barely make it to the lower region (Hole 8) | ||
</gallery> | |||
===[[Course 2]]=== | |||
<gallery> | |||
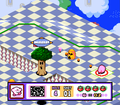
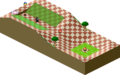
KDC Course 2 select.png|Course 2 on the map screen | |||
KDC Course 2 intro.png|A still from the opening cutscene for Course 2 | |||
KDC Course 2 Hole 1 screenshot 01.png|Preparing a shot which will hit all of the flying foes ([[Course 2 - Hole 1|Hole 1]]) | |||
KDC Course 2 Hole 1 screenshot 02.png|Moving toward the last enemy, transforming into the cup (Hole 1) | |||
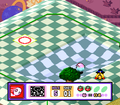
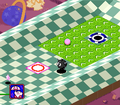
KDC Course 2 Hole 2 screenshot 01.png|Defeating [[Whispy Woods]] using [[Spark]] ([[Course 2 - Hole 2|Hole 2]]) | |||
KDC Course 2 Hole 2 screenshot 02.png|Lining up a shot to deal with the remaining foes (Hole 2) | |||
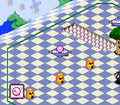
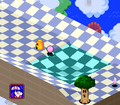
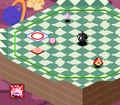
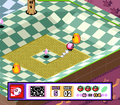
KDC Course 2 Hole 3 screenshot 01.png|Surveying the area ([[Course 2 - Hole 3|Hole 3]]) | |||
KDC Course 2 Hole 3 screenshot 02.png|Getting a little too dizzy during the shot (Hole 3) | |||
KDC Course 2 Hole 4 screenshot 01.png|Getting past [[Kracko]]'s lightning will take some careful timing. ([[Course 2 - Hole 4|Hole 4]]) | |||
KDC Course 2 Hole 4 screenshot 02.png|Kirby [[Wheel]]s through the remaining foes. (Hole 4) | |||
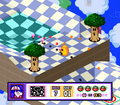
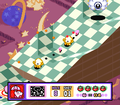
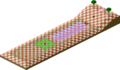
KDC Course 2 Hole 5 screenshot 01.png|Using Wheel to "walk on water" ([[Course 2 - Hole 5|Hole 5]]) | |||
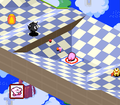
KDC Course 2 Hole 5 screenshot 02.png|Using Wheel to power through the [[bunker]]s (Hole 5) | |||
KDC Course 2 Hole 6 screenshot 01.png|Preparing the first line-up past a bunker ([[Course 2 - Hole 6|Hole 6]]) | |||
KDC Course 2 Hole 6 screenshot 02.png|Using Parasol to drift into the lowland (Hole 6) | |||
KDC Course 2 Hole 7 screenshot 01.png|Preparing for a bounce after the first shot ([[Course 2 - Hole 7|Hole 7]]) | |||
KDC Course 2 Hole 7 screenshot 02.png|Getting deflected by the [[lawn]] (Hole 7) | |||
KDC Course 2 Hole 8 screenshot 01.png|Lining up the path up the slope ([[Course 2 - Hole 8|Hole 8]]) | |||
KDC Course 2 Hole 8 screenshot 02.png|Riding the [[Air Curtain]] to reach the left side (Hole 8) | |||
</gallery> | </gallery> | ||
Revision as of 02:09, 13 February 2023
A gallery of images relating to Kirby's Dream Course.
Boxart and logos
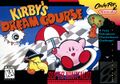
North American boxart
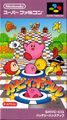
Japanese boxart
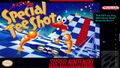
Early boxart for Special Tee Shot, the game that eventually became Kirby's Dream Course

English logo

Japanese logo


Artwork

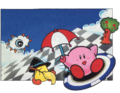
Kirby holding two flags
- KDCArtStory.png
King Dedede stealing the stars, as depicted in the instruction booklet
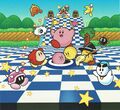
American/European group artwork
Japanese group artwork


Sprites
Kirby and Keeby

Keeby, as he appears in his icon display

Keeby in the 2P Game menu


Copy Abilities


Icon displays


Enemies


Obstacles

Cup

Day and Night Switch (Day)

Day and Night Switch (Night)

Pond Drain Switch

Pond Fill Switch

Turntable Switch (On)

Turntable Switch (Off)

Warp Panel (purple)

Warp Panel (red)
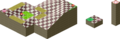
2P Game course icons
Backgrounds


Other
Screenshots
General
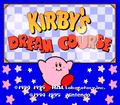
Title screen
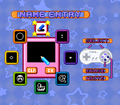
New member name entry screen
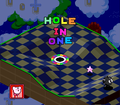
Scoring a hole-in-one on a course
Completing a course
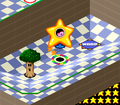
The starry transition effect seen after completing a course

The end of the credits sequence
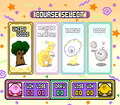
The course menu for 2P Game
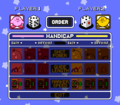
The handicap menu for 2P Game
Flapper returning Kirby to the board
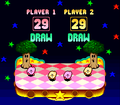
A draw in 2P Game


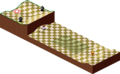
Course 1
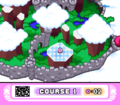
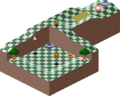
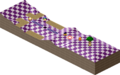
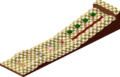
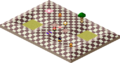
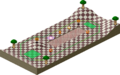
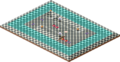
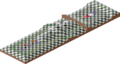
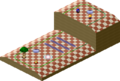
Course 1 on the map screen
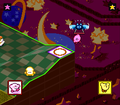
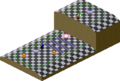
A still from the opening cutscene for Course 1
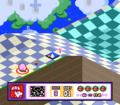
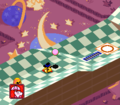
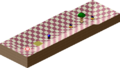
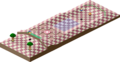
Just barely missing the hole-in-one (Hole 1)
Making the first move toward the Kick Panel (Hole 2)
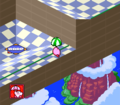
Rolling around the Kabus in the back (Hole 2)
Following the Kick Panels to take out the Kabu (Hole 3)
Lining up the shot into the cup (Hole 3)
Heading toward the Warp Panel (Hole 4)
Emerging on the other side, not too quickly now (Hole 4)
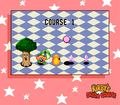
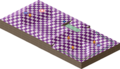
Surveying the course to prepare the first shot (Hole 5)
Lining up the first shot across the upper walkway (Hole 6)
Using Parasol to drift down toward the cup (Hole 6)
Preparing a flying shot into the upper region (Hole 7)
Skipping across the pond to the other side (Hole 7)
Lining up the first shot toward the pond drain switch (Hole 8)
Using Parasol to just barely make it to the lower region (Hole 8)


Course 2
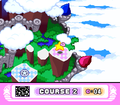
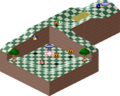
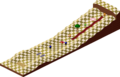
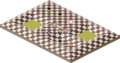
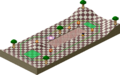
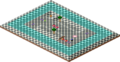
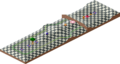
Course 2 on the map screen
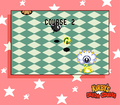
A still from the opening cutscene for Course 2
Preparing a shot which will hit all of the flying foes (Hole 1)
Moving toward the last enemy, transforming into the cup (Hole 1)

Defeating Whispy Woods using Spark (Hole 2)
Lining up a shot to deal with the remaining foes (Hole 2)

Surveying the area (Hole 3)
Getting a little too dizzy during the shot (Hole 3)
Kirby Wheels through the remaining foes. (Hole 4)
Using Wheel to "walk on water" (Hole 5)
Using Wheel to power through the bunkers (Hole 5)
Preparing the first line-up past a bunker (Hole 6)
Using Parasol to drift into the lowland (Hole 6)
Preparing for a bounce after the first shot (Hole 7)
Getting deflected by the lawn (Hole 7)
Lining up the path up the slope (Hole 8)
Riding the Air Curtain to reach the left side (Hole 8)


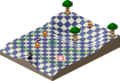
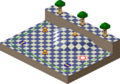
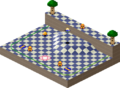
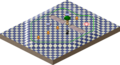
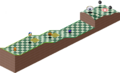
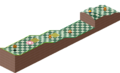
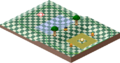
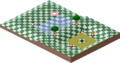
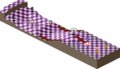
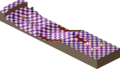
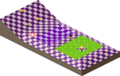
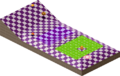
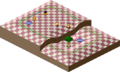
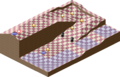
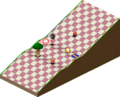
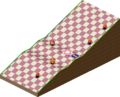
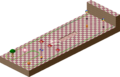
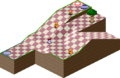
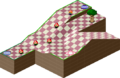
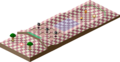
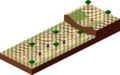
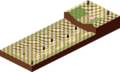
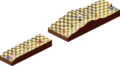
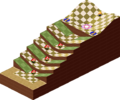
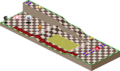
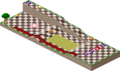
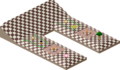
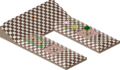
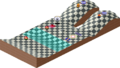
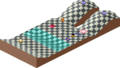
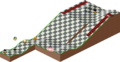
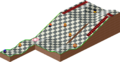
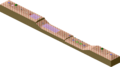
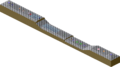
Course maps
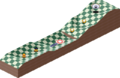
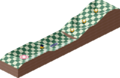
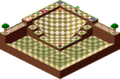
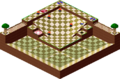
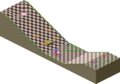
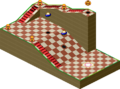
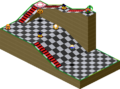
Course 1
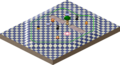
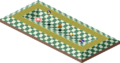
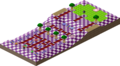
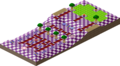
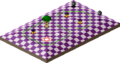
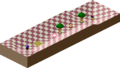
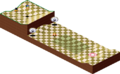
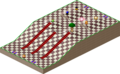
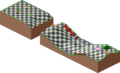
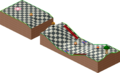
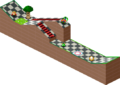
Hole 1 (Main Game)
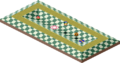
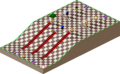
Hole 1 (Extra Game)
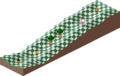
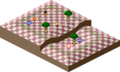
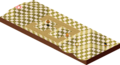
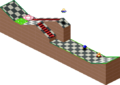
Hole 2 (Main Game)
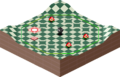
Hole 2 (Extra Game)
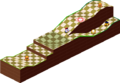
Hole 3 (Main Game)
Hole 3 (Extra Game)
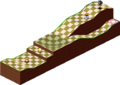
Hole 4 (Main Game)
Hole 4 (Extra Game)
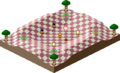
Hole 5 (Main Game)

Hole 5 (Extra Game)
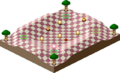
Hole 6 (Main Game)

Hole 6 (Extra Game)

Hole 7 (Main Game)

Hole 7 (Extra Game)

Hole 8 (Main Game)
Hole 8 (Extra Game)


Course 2
Hole 1 (Main Game)
Hole 1 (Extra Game)

Hole 2 (Main Game)
Hole 2 (Extra Game)
Hole 3 (Main Game)

Hole 3 (Extra Game)
Hole 4 (Main Game)
Hole 4 (Extra Game)
Hole 5 (Main Game)
Hole 5 (Extra Game)
Hole 6 (Main Game)
Hole 6 (Extra Game)
Hole 7 (Main Game)
Hole 7 (Extra Game)
Hole 8 (Main Game)
Hole 8 (Extra Game)


Course 3
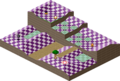
Hole 1 (Main Game)
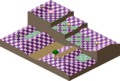
Hole 1 (Extra Game)
Hole 2 (Main Game)
Hole 2 (Extra Game)
Hole 3 (Main Game)
Hole 3 (Extra Game)
Hole 4 (Main Game)
Hole 4 (Extra Game)
Hole 5 (Main Game)
Hole 5 (Extra Game)
Hole 6 (Main Game)

Hole 6 (Extra Game)
Hole 7 (Main Game)

Hole 7 (Extra Game)
Hole 8 (Main Game)

Hole 8 (Extra Game)


Course 4
Hole 1 (Main Game)
Hole 1 (Extra Game)
Hole 2 (Main Game)
Hole 2 (Extra Game)
Hole 3 (Main Game)
Hole 3 (Extra Game)
Hole 4 (Main Game)

Hole 4 (Extra Game)
Hole 5 (Main Game)
Hole 5 (Extra Game)

Hole 6 (Main Game)
Hole 6 (Extra Game)
Hole 7 (Main Game)
Hole 7 (Extra Game)
Hole 8 (Main Game)
Hole 8 (Extra Game)


Course 5
Hole 1 (Main Game)
Hole 1 (Extra Game)
Hole 2 (Main Game)
Hole 2 (Extra Game)
Hole 3 (Main Game)

Hole 3 (Extra Game)
Hole 4 (Main Game)
Hole 4 (Extra Game)
Hole 5 (Main Game)
Hole 5 (Extra Game)
Hole 6 (Main Game)

Hole 6 (Extra Game)
Hole 7 (Main Game)

Hole 7 (Extra Game)
Hole 8 (Main Game)
Hole 8 (Extra Game)


Course 6
Hole 1 (Main Game)
Hole 1 (Extra Game)
Hole 2 (Main Game)
Hole 2 (Extra Game)
Hole 3 (Main Game)
Hole 3 (Extra Game)
Hole 4 (Main Game)
Hole 4 (Extra Game)
Hole 5 (Main Game)
Hole 5 (Extra Game)

Hole 6 (Main Game)
Hole 6 (Extra Game)
Hole 7 (Main Game)

Hole 7 (Extra Game)
Hole 8 (Main Game)
Hole 8 (Extra Game)


Course 7
Hole 1 (Main Game)
Hole 1 (Extra Game)
Hole 2 (Main Game)
Hole 2 (Extra Game)
Hole 3 (Main Game)
Hole 3 (Extra Game)
Hole 4 (Main Game)
Hole 4 (Extra Game)
Hole 5 (Main Game)
Hole 5 (Extra Game)
Hole 6 (Main Game)
Hole 6 (Extra Game)
Hole 7 (Main Game)
Hole 7 (Extra Game)

Hole 8 (Main Game)
Hole 8 (Extra Game)


Course 8
Hole 1 (Main Game)
Hole 1 (Extra Game)
Hole 2 (Main Game)

Hole 2 (Extra Game)
Hole 3 (Main Game)
Hole 3 (Extra Game)
Hole 4 (Main Game)
Hole 4 (Extra Game)
Hole 5 (Main Game)
Hole 5 (Extra Game)
Hole 6 (Main Game)
Hole 6 (Extra Game)
Hole 7 (Main Game)
Hole 7 (Extra Game)
Hole 8 (Main Game)
Hole 8 (Extra Game)


| |||||||||||||||||||||||