Candy Constellation - Room 1
| ||||||||||||||
| ||||||||||||||
|
| ||||||||||||||

Candy Constellation - Room 1 is a room in Candy Constellation, the ninth area of Kirby & The Amazing Mirror.
Links[edit]
This room links to Candy Constellation - Room 7 to the right, Candy Constellation - Room 2 to the left, and Candy Constellation - Chest 2 above. Kirby can also reach this room from Peppermint Palace - Warp.
Overview[edit]
This room is composed of several thin floors and Star Block formations that spread horizontally over a bottomless pit. Several enemies, including a Cookin occupy these platforms. To the left, a Waddle Doo guards a switch lain atop some Bomb Blocks. Breaking these blocks is necessary to make the door to the second Chest room appear behind the gate the switch opens, but doing so also drops the switch into the abyss. Kirby has to activate both and then get through the gate before it closes, or he will have to leave and re-enter the room to try again.
Enemies[edit]
| Sprite | Name | Copy Ability |
|---|---|---|
| Cookin | Cook | |
| Foley | Bomb | |
| Roly-Poly | None | |
| Waddle Doo | Beam |
Gallery[edit]

Composite map of the room
| Candy Constellation Area Map | |
|---|---|
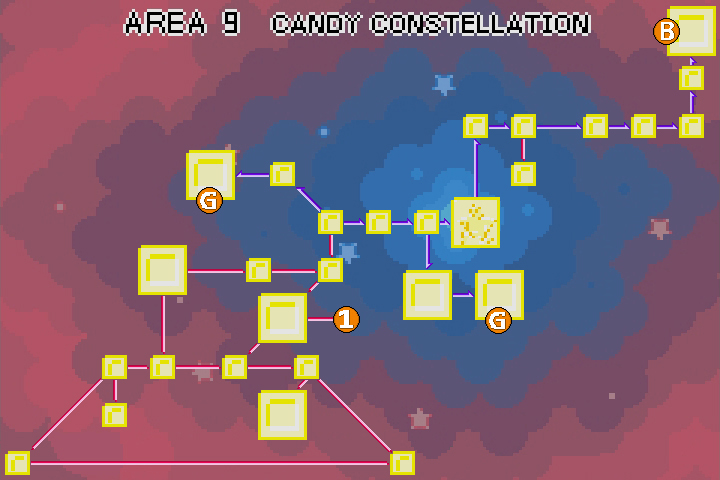 | |
| |||||||||||||||||||||||||||||