Candy Constellation - Goal 2
| ||||||||||||||||
| ||||||||||||||||
|
| ||||||||||||||||

Candy Constellation - Goal 2 is a room in Candy Constellation, the ninth area of Kirby & The Amazing Mirror.
LinksEdit
This room is one-way, leading to the Goal Game, then to the Rainbow Route - Central Circle.
OverviewEdit
Much like the first Goal room, this room starts with a selection of ability-providing enemies trapped in the wall, then an encounter with a Mid-Boss; in this case Bonkers. Once he is defeated, Kirby can access the Goal Game door to the right.
Enemies and Mid-BossEdit
GalleryEdit
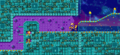
Composite map of the room

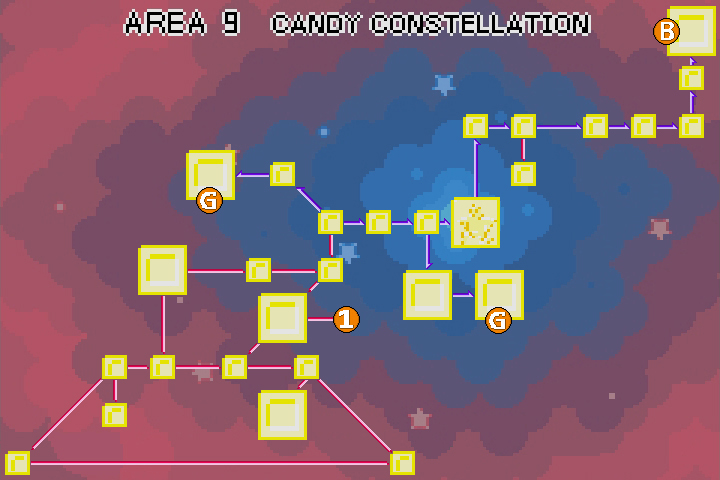
| Candy Constellation Area Map | |
|---|---|
 | |